To set up a Discord server the right way, you need a clean structure, clear roles, and a growth plan that puts safety and community first — no spammy shortcuts, just smart moves that build trust and engagement.
Why Your Discord Server Matters for Community Growth
Your server is the home base of your brand. However, growth isn’t just about member count — it’s about retention, engagement, and trust. When you set up a Discord server with clarity and good UX, you reduce confusion, increase participation, and create real social proof.
Therefore, think of the server as your product: simple navigation, consistent rituals, and quick wins for newcomers ⭐
Step 1 — Create Your Server (Quick Start)
It takes one minute to set up a Discord server from scratch. In addition, templates can save time later.
- Open Discord and click the “+” icon on the sidebar.
- Select Create My Own (or choose a template).
- Name your server, upload an icon, and click Create.
Pro move: use a short, brandable name and a square 512×512 icon for crisp display.
Pro Tip : Claim your vanity domain elsewhere (e.g., brand.gg/discord) and redirect it to your invite. This makes sharing effortless on streams and socials.
Step 2 — Structure: Categories, Channels, Naming
Categories to Start With
- Welcome: rules, announcements, server-guide, roles/self-assign
- Community: general chat, introductions, media-share
- Support: help-desk, FAQ, bug-reports
- Voice: lobby, hangout, events
Naming Conventions That Help
- Keep it short and scannable:
#rules,#announcements,#introductions. - Add emojis only if they improve scan speed (e.g., 📢 Announcements).
- Pin a one-line description at the top of every channel.
Moreover, when you set up a Discord server, consider a “Read First” flow: Welcome → Rules → Get Roles → Introductions. It reduces DMs and keeps the vibe friendly.
Step 3 — Roles, Permissions & Safety
Roles are your operating system. Therefore, define them before inviting the masses.
Starter Role Stack
- @admin: full control, security settings
- @mod: kick/ban, manage messages, timeout
- @member: default perms, send messages, view channels
- @muted: read-only (timeout fallback)
Safety Basics
- Verification level: start at Medium; raise if you see spam.
- Enable community settings (server rules, welcome screen, membership screening).
- Turn on explicit media filter and set slowmode in high-traffic channels.
- Backups: keep a text export of roles/permissions and invite settings.
In addition, use separate staff-only channels for incident logs and decisions. Keep moderation transparent yet private.
Step 4 — Onboarding: Rules, Welcome & First Actions
Onboarding is where most servers lose people. To set up a Discord server that converts visitors into members, make the first 60 seconds count.
- Welcome Screen: show 3–5 key channels (Start Here, Announcements, Introductions, FAQ).
- Rules: short, positive, actionable. Add a ✅ reaction gate if you use it.
- First Action: ask newbies to post a 1-line intro or answer a fun poll.
- Self-Roles: interests/platforms to personalize notifications.
Consequently, you’ll see higher chat activity and better retention.
Step 5 — Power Features: Threads, Events, Integrations
Threads & Forums
- Use threads for temporary topics; archive when done.
- For recurring Q&A, switch to forum channels to keep answers searchable.
Events
- Schedule weekly AMAs, watch parties, or game nights.
- Promote events in your announcement channel and pin the post.
Integrations
- Connect your stream notifications, calendars, or forms.
- Set up auto-mod and basic anti-raid rules; audit weekly.
As you set up a Discord server for scale, keep the toolset minimal — fewer bots, clearer UX.
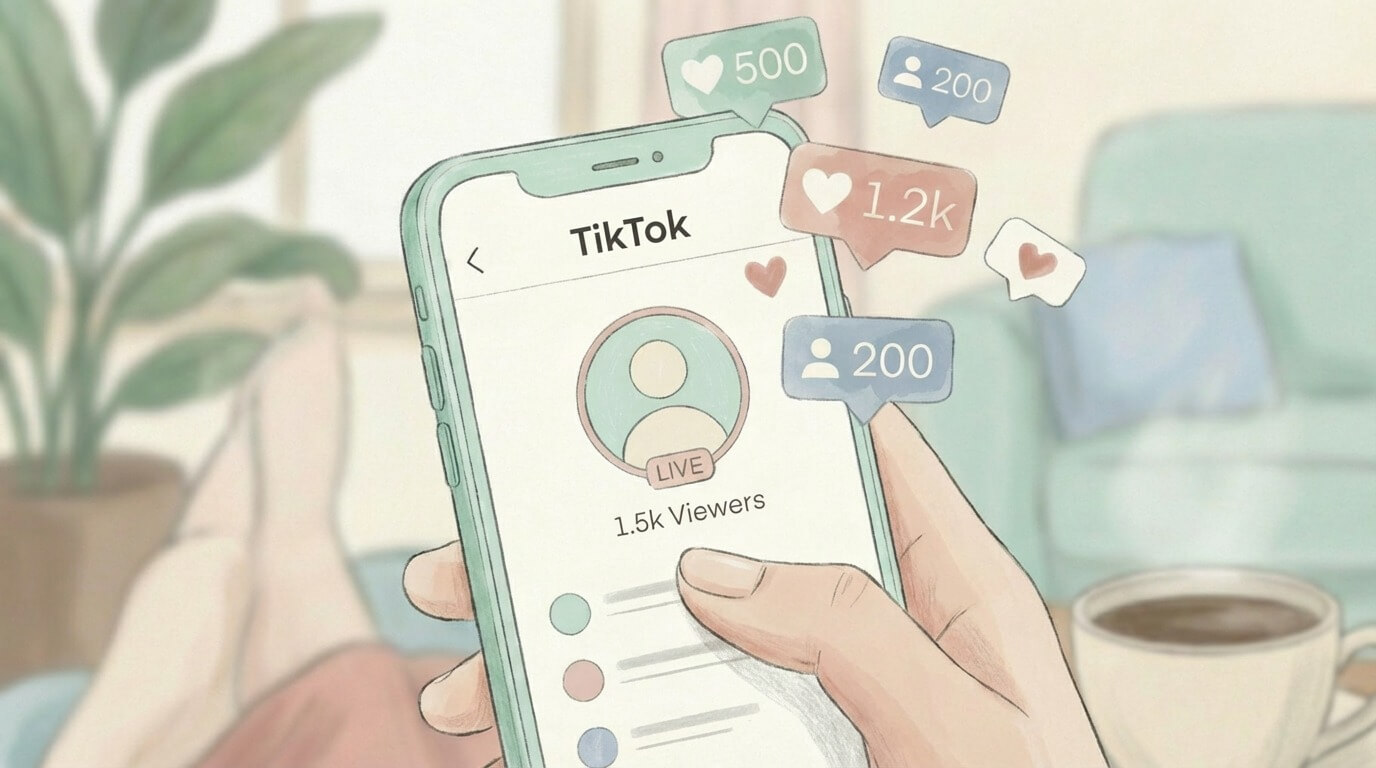
Step 6 — Organic Growth: Visibility, Engagement, Social Proof
Growth compounds when new members see lively channels and clear value. However, never over-promise or fake activity. Focus on:
- Visibility: share invite links on your stream, socials, and website footer.
- Engagement: run weekly rituals (introductions Monday, clip-share Friday).
- Social Proof: public wins, testimonials, and community showcases.
In addition, rotate two “evergreen” events per month to re-activate lurkers.
Pro Tip : Write a 10-second “Welcome Pitch” and pin it: who you are, what the server offers, and what to do next. Repeat it on stream to funnel high-intent members.
Ethical Growth vs. Risky Shortcuts (Comparison)
| Ethical, ToS-Safe Growth | Risky Shortcuts to Avoid | Why It Matters |
|---|---|---|
| Clear onboarding + consistent events | Artificial inflation of “online members” | Misleads people and can violate rules; damages trust. |
| Real conversations, helpful forums | Spammy auto-messages posing as users | Communities form around authenticity, not noise. |
| Lightweight toolset, regular audits | Too many bots with overlapping permissions | Complexity breaks onboarding and moderation. |
| Transparent rules & fair moderation | Unclear or punitive policies | Good vibes keep people coming back. |
| Channel hygiene & archiving | Endless channels with no purpose | Signal > noise for discoverability. |
Admin Checklist (Printable)
- Name/icon set • Community enabled • Verification level chosen
- Categories & channels created • Descriptions pinned
- Roles & perms tested • Staff room set • Mod log enabled
- Welcome screen & rules live • Self-roles added
- Two monthly events planned • Clips/screens scheduled
- Quarterly audit: delete stale channels, merge duplicates
Set Up A Discord Server For The People
A great Discord community does not happen by accident. It happens when structure, safety, and engagement work together.
When you set up a Discord server with clear channels, defined roles, and a welcoming onboarding flow, members immediately understand where to go and how to participate. That clarity reduces confusion, encourages conversation, and builds trust inside the community.
FAQs
1) Is Discord free to use for communities?
Yes. You can set up a Discord server for free; optional Nitro perks are paid, but not required.
2) What’s the ideal number of channels?
Start lean: 6–10 channels. Expand only when a new topic stays active for a week or more.
3) How do I stop spam without scaring new members?
Use Medium verification, enable community tools, and set slowmode in high-traffic channels. Keep rules short and positive.
4) Should I add many bots?
Keep it minimal. Each bot must have a clear job (e.g., mod, events, utility). Audit permissions monthly.
5) How do I make the server feel alive?
Run weekly rituals, highlight wins, and ask newcomers to introduce themselves within 24 hours of joining.
6) Can I migrate an existing audience from other platforms?
Absolutely. Promote the invite on your streams, pin it on profiles, and offer a welcoming “Start Here” path. .