More than 7.6 million creators stream on Twitch every month, according to Twitch’s official statistics.
Yet thousands of new streamers still struggle with the same basic question: how to go live on Twitch.
The process is simpler than most beginners think. But a few missing settings or wrong tools can stop your stream before it even starts.
This guide explains how to go live on Twitch step-by-step using OBS Studio, consoles, mobile devices, and browser tools. If you want to learn how to stream on Twitch smoothly and avoid common beginner mistakes, this guide walks you through everything.
What You Need Before Going Live on Twitch
Before learning how to go live on Twitch, you need a few basic things in place. The platform itself is free, but your setup matters if you want stable live streaming.
First, you need a Twitch account. Visit the official Twitch website and create one if you have not already. This account becomes the foundation of all your broadcasts and streaming activity.
Next comes your basic hardware setup. A strong streaming setup usually includes:
-
A decent computer or console
-
Stable internet connection
-
A microphone for clear voice
-
Optional webcam for face streaming
-
Streaming software such as OBS Studio or Streamlabs Desktop
Internet speed matters more than people expect. Twitch recommends at least 3–6 Mbps upload speed for stable streaming quality. Anything lower often causes buffering or dropped frames.
Then you need an encoder. An encoder converts your gameplay or camera feed into video data that Twitch can broadcast to viewers. Software encoders like OBS Studio and Streamlabs are the most popular choices for beginners.
Once these basics are ready, learning how to go live on Twitch PC becomes much easier. And the same setup works whether you stream games, talk shows, or tutorials.
How to Go Live on Twitch Using OBS Studio (Step-by-Step)
For most creators, OBS Studio remains the most reliable tool for how to stream on Twitch. It is free, powerful, and used by many professional streamers.
If you want to understand how to go live on Twitch on PC, this section covers every step.
Downloading and Installing OBS Studio
Start by downloading OBS Studio from the official OBS website.
OBS supports Windows, Mac, and Linux. Installation takes only a few minutes.
After installation, open the program and run the Auto Configuration Wizard. This tool scans your computer hardware and internet speed to recommend ideal settings for streaming.
These recommended settings give beginners a stable starting point. You can always adjust them later once you gain experience with live streaming.
This first step sets up the foundation for how to go live on Twitch PC properly.
Connecting OBS to Twitch with Your Stream Key
Now you must connect OBS to your Twitch account.
Log into Twitch and open your Creator Dashboard. Inside the dashboard you will find your Stream Key.
Copy the stream key and paste it into OBS.
Follow this path in OBS:
-
Settings → Stream → Service → Twitch
Paste the stream key and click apply.
Your OBS encoder now connects directly to Twitch servers. This connection allows OBS to send your broadcasts whenever you start streaming.
Without this step, how to go live on Twitch simply will not work.
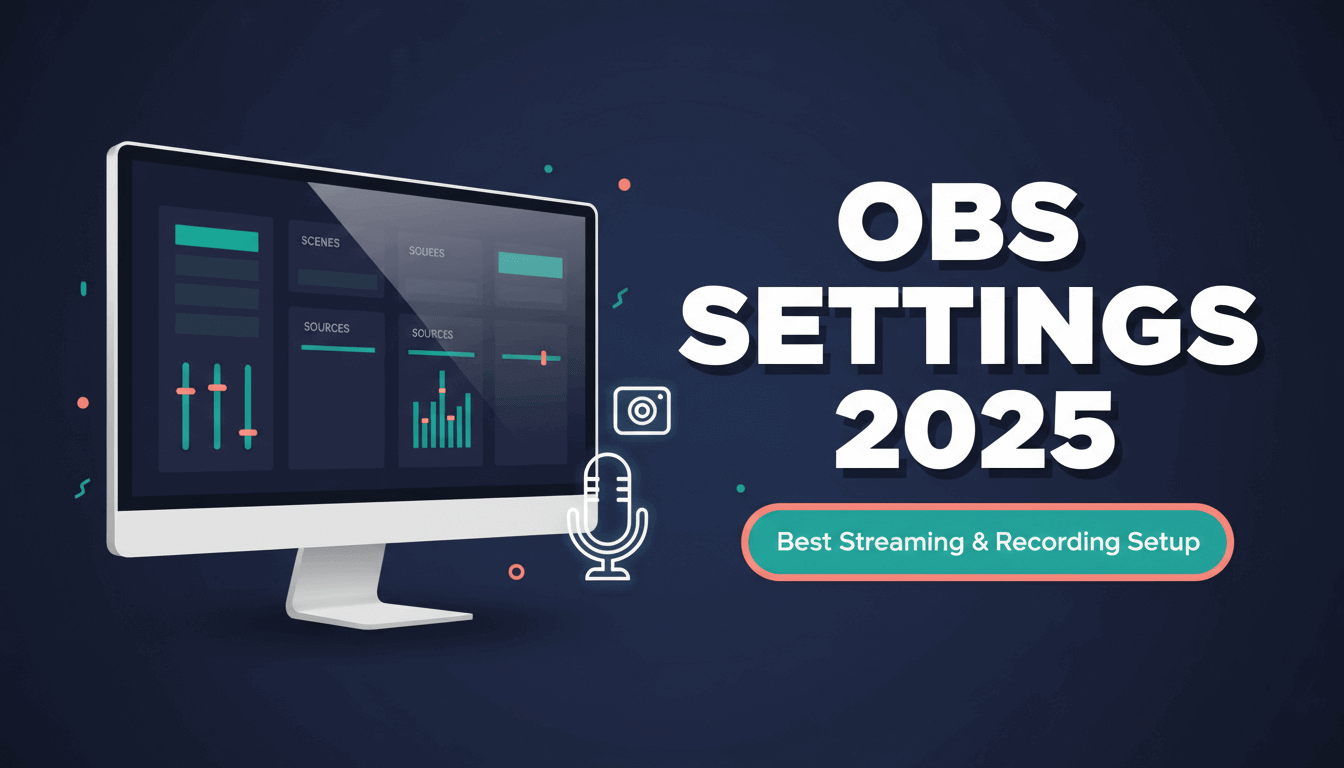
Setting the Correct Bitrate, Resolution, and FPS
These settings control how smooth and clear your stream looks.
Bitrate determines how much data your stream sends every second. Higher bitrate usually means better video quality.
Common beginner settings include:
-
Resolution: 1280 × 720 or 1920 × 1080
-
FPS: 30 or 60 frames per second
-
Bitrate: 3000 to 6000 kbps
If your internet upload speed is limited, start with 720p at 30 FPS. This reduces buffering problems.
These adjustments are essential when learning how to stream on Twitch without lag.
Adding Game Capture, Webcam, and Audio Sources
Now you must tell OBS what content to capture.
OBS uses something called sources. Each source represents a piece of your stream.
Common sources include:
-
Game Capture for gameplay
-
Video Capture Device for webcam
-
Audio Input for microphone
-
Display Capture for desktop screens
Add these sources inside the Scenes panel.
For example, if you stream a game, select Game Capture and choose the game window. OBS then records the gameplay directly.
This step transforms OBS from empty software into a complete streaming setup.
Testing Your Stream Before Going Live
Before pressing the stream button, test everything. Check the following:
-
Microphone volume levels
-
Game audio balance
-
Webcam position
-
Internet stability
OBS has a built-in preview window that shows exactly what viewers will see.
Many beginners skip testing. But testing prevents embarrassing problems like muted audio or blank screens.
Testing also ensures your setup works correctly for how to go live on Twitch on PC.
Clicking “Start Streaming” and Monitoring Stream Health
Once everything looks good, click Start Streaming inside OBS. Your broadcast begins instantly.
Open your Twitch Stream Manager to monitor stream health. Twitch shows real-time data such as dropped frames, bitrate, and connection quality.
Keep an eye on these metrics. They tell you if your live streaming session runs smoothly.
And that is the complete process for how to go live on Twitch PC using OBS.
How to Go Live on Twitch Without OBS (Browser & Built-In Options)
Some creators prefer simpler tools instead of complex software like OBS.
Luckily there are several beginner friendly ways for how to go live on Twitch without installing heavy streaming software.
Using Twitch Studio for Beginners
Twitch Studio is Twitch’s official streaming software. It is designed specifically for new streamers who want a simple experience.
Twitch Studio automatically detects your microphone, webcam, and games. The setup wizard walks you through everything.
You can add overlays, alerts, and scenes with only a few clicks.
For beginners learning how to stream on Twitch, Twitch Studio often feels less intimidating than OBS.
However, advanced streamers usually switch to OBS Studio later for greater control.
Going Live with StreamYard (Browser-Based Streaming)
If you prefer browser tools, StreamYard offers another option.
StreamYard runs entirely inside your web browser. No downloads required.
You simply connect your Twitch account, add your webcam and microphone, and start streaming.
StreamYard works well for:
-
Interviews
-
Podcasts
-
Talk shows
-
Collaborative streams
Because it runs in the browser, it is popular among creators who want an easy way to learn how to go live on Twitch without dealing with encoder settings.
Multistreaming to Twitch and Other Platforms
Some creators broadcast to multiple platforms at once. This practice is called multistreaming.
Tools like StreamYard or streaming services allow you to send your broadcast simultaneously to Twitch, YouTube, and Kick.
Multistreaming helps new creators grow faster because audiences exist on multiple platforms.
Then again, Twitch Affiliate agreements restrict multistreaming in certain situations. Always review Twitch policies before doing it.
But for many creators, multistreaming provides a powerful way to experiment while learning how to stream on Twitch.
How to Go Live on Twitch from Console (PS5, PS4, Xbox)
Console streaming makes how to go live on Twitch even simpler.
Both PlayStation and Xbox include built-in broadcasting features. You do not need OBS, encoders, or extra software.
Linking Your Console to Your Twitch Account
The first step is connecting your console to Twitch. Open your console settings and navigate to Account Linking.
Select Twitch and sign in with your account credentials. Once linked, your console can directly send broadcasts to Twitch servers.
This simple connection eliminates the need for separate streaming software.
Adjusting Broadcast Settings on PlayStation
PlayStation consoles provide several streaming options. When you press the Share button, you can start broadcasting instantly.
Inside the broadcast menu you can adjust:
-
Stream title
-
Audio sources
-
Camera display
-
Stream resolution
These options help customize your stream without complicated settings. For many console players, this is the easiest method for how to go live on Twitch.
Adjusting Broadcast Settings on Xbox
Xbox uses a similar broadcasting system. Open the guide menu and select Broadcast & Capture.
Then choose Twitch as the streaming platform. Xbox allows you to customize microphone levels, camera position, and overlay options.
These features make Xbox streaming simple even for beginners learning how to stream on Twitch.
Adding Camera and Audio on Console Streams
Face cameras make streams more engaging. Most consoles support USB webcams and headsets.
Connect the camera and adjust its placement inside broadcast settings.
Also test microphone volume before going live. Clear voice audio improves viewer experience dramatically.
Even small improvements like this make a big difference when mastering how to go live on Twitch.
How to Go Live on Twitch from Mobile
Mobile streaming has grown rapidly in recent years. Many creators now stream real-life content directly from their phones.
This method works well for travel streams, events, or casual chats.
Using the Twitch Mobile App to Stream IRL
Download the official Twitch mobile app from the App Store or Google Play.
Log in and tap the Create button. Choose Go Live and allow the app to access your camera and microphone.
Your phone instantly becomes a portable live streaming device. This method makes how to go live on Twitch incredibly convenient.
Choosing Stream Category and Title on Mobile
Before starting your broadcast, select the correct Category. Categories help viewers discover your stream. For example:
-
Just Chatting
-
Travel & Outdoors
-
Gaming categories
Write a clear stream title that describes what you are doing. A strong title improves discoverability and helps people find your stream.
These details matter even when learning basic how to stream on Twitch techniques.
Improving Mobile Stream Quality and Stability
Mobile streams rely heavily on internet stability. Whenever possible, use strong Wi-Fi instead of cellular data.
Also consider using a phone tripod to stabilize the camera. Shaky video quickly reduces viewer engagement.
Small adjustments like these make mobile live streaming far more professional.
Best Twitch Stream Settings for Smooth Streaming
Even if you know how to go live on Twitch, poor settings can ruin the experience. Stream quality depends heavily on bitrate, resolution, and audio clarity.
Recommended Bitrate Based on Upload Speed
Bitrate controls the data flow of your stream. Higher bitrate improves quality but requires faster internet.
Recommended ranges include:
-
3 Mbps upload → 2500 bitrate
-
5 Mbps upload → 3500 bitrate
-
10 Mbps upload → 6000 bitrate
Always leave some extra bandwidth available for stability. Stable bitrate is essential when learning how to stream on Twitch without buffering.
720p vs 1080p Streaming – Which Should You Choose?
Many beginners believe 1080p always looks better. But 1080p requires significantly higher bitrate.
If your internet speed struggles, 720p often produces a smoother stream.
Smooth playback matters more than raw resolution.
That is why many experienced creators still choose 720p while mastering how to go live on Twitch.
Best Audio Bitrate for Clear Voice
Viewers forgive slightly blurry video. But they rarely tolerate bad audio. Set audio bitrate around 128 kbps for clear microphone sound.
Also reduce background noise and position your microphone close to your mouth. Clear voice audio dramatically improves viewer retention during live streaming.
Reducing Dropped Frames and Lag
Dropped frames often occur when the computer or internet cannot handle streaming workload. Solutions include lowering bitrate, reducing resolution, or closing background programs.
Monitoring OBS performance statistics helps identify problems quickly. These small adjustments keep your stream stable while learning how to go live on Twitch PC.
Common Problems When Going Live on Twitch (And Fixes)
Every streamer faces technical problems at some point. Understanding common issues makes troubleshooting much easier.
Stream Not Connecting to Twitch
Connection errors usually come from an incorrect stream key. Double check your Twitch dashboard and paste the correct key into OBS.
Also ensure your internet connection remains stable. Most connection failures during how to go live on Twitch come from these two causes.
Audio Not Working or Out of Sync
Audio problems often happen when the wrong microphone source is selected. Open OBS audio settings and confirm the correct input device.
Also monitor audio levels during test streams. Proper audio setup improves the overall streaming experience.
Stream Lagging or Buffering
Lagging streams usually indicate high bitrate or slow internet. Lower the bitrate slightly and test again.
If problems continue, switch from Wi-Fi to wired Ethernet. Reliable internet is critical when learning how to stream on Twitch successfully.
OBS or Streamlabs Crashing
Software crashes sometimes occur due to outdated drivers or overloaded hardware. Update graphics drivers and close unnecessary programs.
If crashes continue, consider reinstalling OBS Studio or Streamlabs Desktop. Stable software ensures smoother broadcasts every time you go live.
Twitch Streaming Tips to Grow Faster After Going Live
Learning how to go live on Twitch is only the beginning. Growth requires consistency and engagement.
Setting a Consistent Streaming Schedule
Viewers return when they know exactly when you stream. Pick fixed days and times for your streams.
Consistency helps Twitch recommend your channel more often. And it builds trust with your audience.
Choosing the Right Game or Category
Highly saturated categories make discovery difficult. New streamers often grow faster in mid-size categories.
Look for games that have active viewers but fewer competing channels. Strategic category selection supports long term streaming growth.
Engaging Viewers During Live Streams
Successful streamers interact constantly with chat. Ask questions. Respond to comments. Welcome new viewers.
Active engagement turns casual viewers into loyal followers. This interaction transforms simple live streaming into a community experience.
Promoting Your Twitch Stream on Social Media
Promotion helps bring new viewers to your channel. Share clips on Twitter, TikTok, and YouTube Shorts.
Short highlights attract viewers who might never discover your channel otherwise.
And tools like BotViewer can help increase early engagement and visibility when learning how to go live on Twitch as a new streamer.
Conclusion
Learning how to go live on Twitch does not require complicated equipment or years of experience. With the right tools, a stable internet connection, and a clear setup process, anyone can start streaming within minutes.
OBS Studio, console broadcasting, and mobile streaming all offer simple paths for beginners who want to learn how to stream on Twitch successfully.
Start your first stream, experiment with settings, and improve with each broadcast.
FAQs
Is It Free to Go Live on Twitch?
Yes. Creating an account and going live on Twitch is completely free. You only need streaming software and internet. Optional gear like webcams, microphones, or overlays may cost money.
Can You Stream Without a Capture Card?
Yes. You can stream directly from your PC using software like OBS Studio. Capture cards are mainly needed for streaming console gameplay from devices like PlayStation 5 or Xbox Series X.
What Internet Speed Do You Need for Twitch?
For smooth streaming on Twitch, you typically need at least 5–10 Mbps upload speed. Higher resolutions like 1080p at 60 FPS may require faster, stable internet.
Can You Stream to Twitch and YouTube at the Same Time?
Yes. Using multistreaming tools like Restream or Streamlabs, creators can broadcast simultaneously to Twitch and YouTube to reach larger audiences.