How to Stream on Twitch (2025 Guide): Step-by-Step Setup, Bitrate & Growth Tips
How to Stream on Twitch (2025 Guide): Step-by-Step Setup, Bitrate & Growth Tips
How to stream on Twitch is the #1 question new creators ask, and this up-to-date guide walks you through hardware, OBS setup, bitrate choices, and smart growth tactics—without risky shortcuts. Whether you’re a beginner or chasing Partner, we’ll help you go live, look clean, and grow sustainably. ✅
📑 Table of Contents
- Who This Guide Is For
- Minimum Requirements & Essentials
- Step-by-Step: Set Up OBS & Go Live
- Encoder, Resolution & Bitrate (with Table)
- Scenes, Overlays & Stream Design
- Engagement, Visibility & Growth Tactics
- Common Issues & Quick Fixes
- 💡 Pro Tip
- 🛒 Grow Safely with BotViewer
- FAQs
- Final Word
Who This Guide Is For
This article is written for Twitch, Kick, YouTube, and TikTok creators—especially beginners and streamers targeting Affiliate/Partner. We focus on visibility, growth, and engagement with a “no risk, smart usage” mindset. If you’re after natural-looking support, fast activation, and 24/7 help, you’re in the right place.
Minimum Requirements & Essentials
1) Hardware
You don’t need a monster PC, but a modern multi-core CPU and a mid-range GPU make encoding easier. Use a decent USB mic (clean audio matters more than 4K). Add a webcam or DSLR capture for extra social proof and personality.
2) Internet
Stable upload speed is crucial. Aim for a wired Ethernet connection and enough headroom over your target bitrate. If Wi-Fi is your only option, place the router close and minimize interference.
3) Software
OBS Studio is the community favorite. You can also try Twitch-approved tools listed in Twitch’s recommended broadcasting software.
Step-by-Step: Set Up OBS & Go Live
Step 1: Create/prepare your Twitch account
Set a clean username, on-brand bio, and panels. Add links to Discord, YouTube, and socials so your algorithm signals and cross-traffic improve.
Step 2: Connect OBS to Twitch
In OBS Settings → Stream, select Twitch and “Connect Account.” This makes going live and managing your key painless.
Step 3: Add sources & scenes
Create a “Starting Soon,” “Live,” and “BRB” scene. Add your game/window capture, camera, and audio sources. Keep scenes lightweight to reduce CPU/GPU load.
Step 4: Set audio correctly
Use separate audio tracks for mic and desktop so you can adjust them independently. Set a noise gate and compressor on your mic for radio-clean vibes.
Step 5: Title, tags & schedule
Write a clear stream title with keywords, choose accurate tags, and keep a consistent schedule. Consistency trains your audience and the algorithm.
Encoder, Resolution & Bitrate (with Table)
Your encoder decides how your stream is compressed. Hardware encoders (NVENC/AMD/Apple Silicon) offload work to the GPU; software (x264) leans on your CPU. Choose the combo that keeps frames steady and image crisp.
| Target Quality | Resolution / FPS | Video Bitrate (kbps) | Encoder Tip | Use When… |
|---|---|---|---|---|
| Balanced Starter | 720p / 60 | 3,500–4,500 | NVENC/AMF/VT or x264 “veryfast” | Your upload is modest; you stream fast games. |
| Sharper Motion | 900p / 60 | 5,000–6,000 | Hardware encoder preferred | You want smoother text/UI without maxing 1080p. |
| Full HD Look | 1080p / 30–60 | 4,500–6,000 | Hardware encoder (latest NVENC/VT) | Your upload is strong; you want a crisp image. |
Note: Start lower, test your connection, and increase gradually to avoid dropped frames. Twitch’s own docs are the best baseline for setup and broadcasting expectations; see the official “How do I stream?” FAQ for fundamentals. Read Twitch’s guide.
Scenes, Overlays & Stream Design
Keep it clean
Use simple overlays, readable fonts, and consistent colors. Avoid covering subtitles, ability bars, or mini-maps. Less clutter = higher retention.
Alerts & widgets
Add alerts for follows, subs, and raids. Use goal bars sparingly to drive engagement without looking spammy.
Music & DMCA
Use licensed tracks or royalty-free playlists. Mute VOD tracks if needed. Protect your replay value—strikes hurt growth.
Engagement, Visibility & Growth Tactics
Talk early, talk often
Greet lurkers, narrate decisions, and ask easy questions. When chat feels alive, new viewers stay. That boosts watch time and discoverability.
Shorts & multi-format
Clip highlights into vertical videos for TikTok/Reels/Shorts. Therefore, you multiply surface area without extra streaming hours.
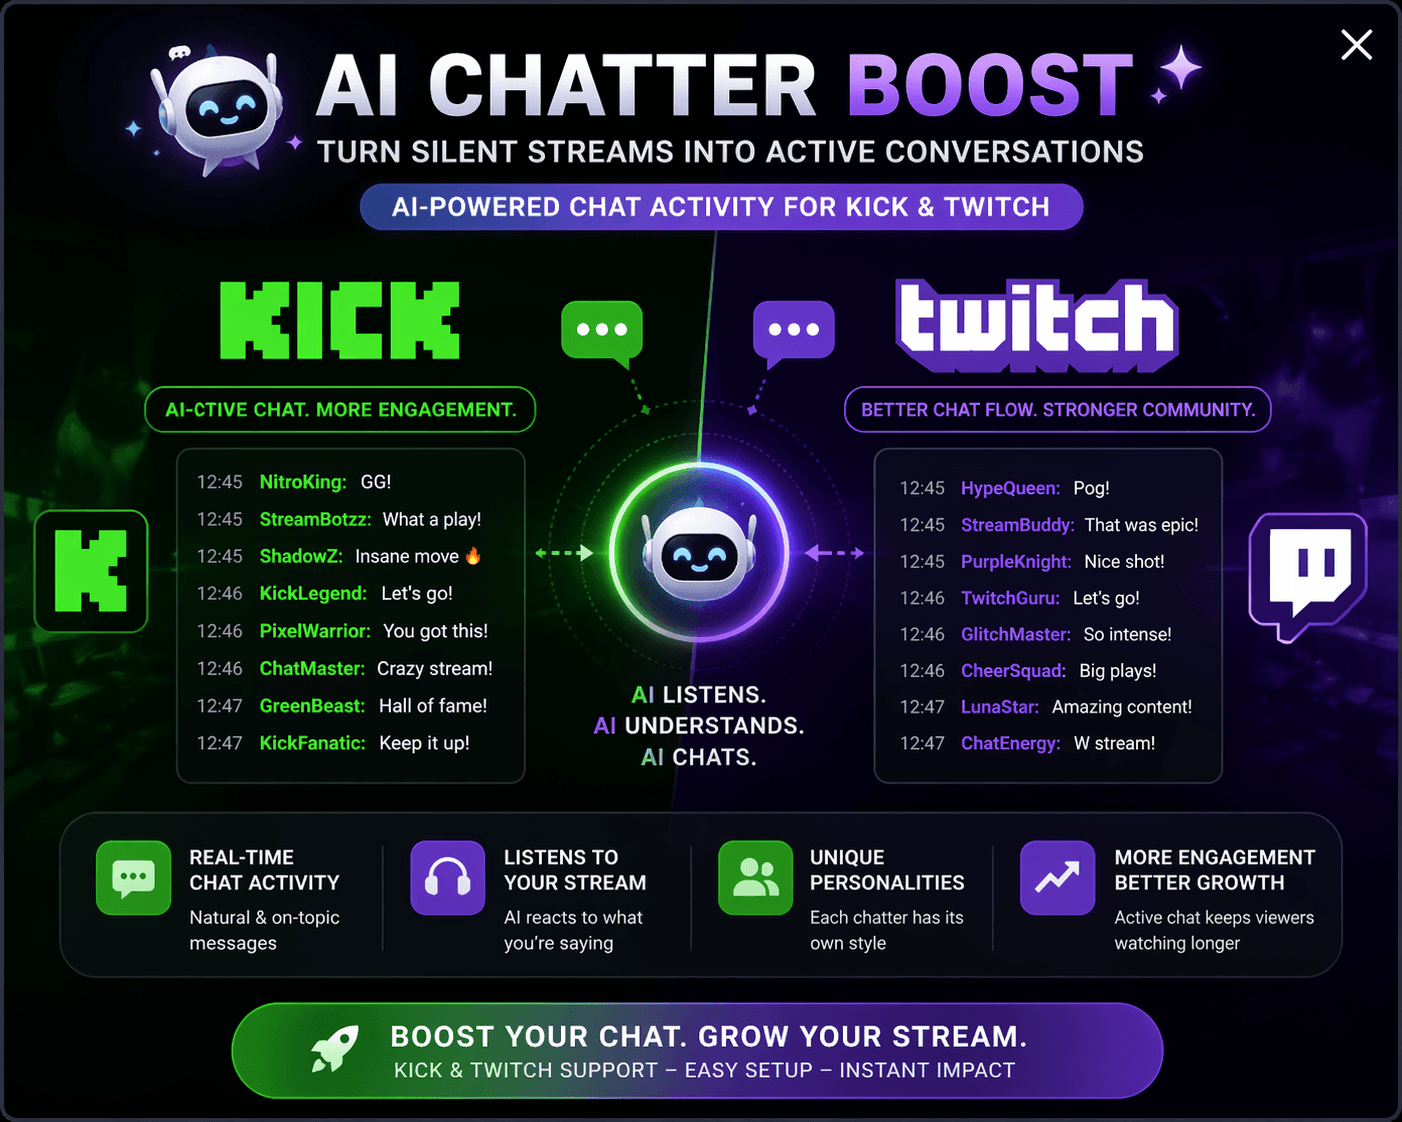
Twitch chat bot basics
Automate shoutouts, FAQs, and timed messages. A light-touch bot increases engagement while keeping chat clean.
Content pillars
Pick 2–3 game or topic pillars. Consistency builds habit, which builds community, which builds growth.
Want a deeper monetization roadmap after your setup? Read our internal guide: How to Make Money on Twitch with 10 Different Methods.
Common Issues & Quick Fixes
- Dropping frames? Lower bitrate/resolution, switch to Ethernet, close heavy apps, and try a hardware encoder.
- Audio desync? Set consistent sample rates (48 kHz is standard) and avoid stacked noise filters.
- Game capture black screen? Run OBS as admin, match GPU for game & OBS, and use window capture as a fallback.
- Stutters on scene change? Reduce browser sources and lower transition stingers to 30–60 frames.
💡 Pro Tip
🛒 Grow Safely with BotViewer
If you need a gentle nudge in visibility—for example to kickstart social proof on a new time slot—use smart tools sparingly. BotViewer offers fast activation, 24/7 support, and natural-looking delivery. Always prefer no risk, smart usage over over-promising.
- 🛒 Check out BotViewer’s Twitch Monthly Viewers to grow safely 🚀
- 🛒 Also popular: Daily Viewers for one-off events
FAQs
1) What’s the easiest way to go live the first time?
Install OBS, connect your Twitch account, add a game/window source and mic, then set 720p60 at ~4,000 kbps to start. Scale up after test streams.
2) Should I use x264 or a hardware encoder (NVENC/VT/AMF)?
Use hardware if available—it’s efficient and frees your CPU for the game. However, if your GPU is weak, x264 “veryfast” can still look fine at 720p.
3) What bitrate should I choose?
Match your upload speed and content. Start around 3,500–4,500 kbps for 720p60. If stable, try 1080p30–60 at 4,500–6,000 kbps.
4) How do I avoid DMCA issues with music?
Use licensed or royalty-free tracks, or separate VOD audio and mute music on replays. When in doubt, skip it—strikes hurt discoverability.
5) Do small streamers really need a schedule?
Yes. A predictable schedule increases returning viewers, improves average viewers, and helps the algorithm understand your pattern.
6) Can a Twitch chat bot help with growth?
Absolutely. Timed messages, shoutouts, polls, and mini-games keep chat lively and increase engagement, which improves retention.
Final Word
Now you know how to stream on Twitch—from OBS setup to bitrate picks and growth habits. Start simple, maintain quality, and think long-term. When you’re ready to safely boost visibility, use tools that look natural and are backed by 24/7 support. 🛒 Check out BotViewer’s Twitch Monthly Viewers to grow safely 🚀